3 Steps to Install a Bike Speedometer
Contents
Step 1: Mount the base and monitor screen
Step 2: Mount the transmitter
Step 3: Mount the receiver
An odometer or speedometer for bicycles is the first accessory the amateur cyclist wishes to install on his leisure machine.
Two families exist:
Analog:
A true symbol in terms of a speedometer is often a dial with a needle whose position varies according to the speed.
Advanced versions show a totalizer of kilometres travelled.
The digital odometer:
More modern with its digital display of speed.
It indicates not only the speed in a precise way but also parameters that its analog counterpart cannot give: average speed since the start, average speed between two points, etc.
All speedometer models consist of three components:
- a transmitter;
- a receiver;
- a box and cable (except in the case of a wireless speedometer, of course).
The installation of these elements is done by clipping or screwing and, in all cases, remains simple.
Here are the steps and the necessary material to install a bike computer.
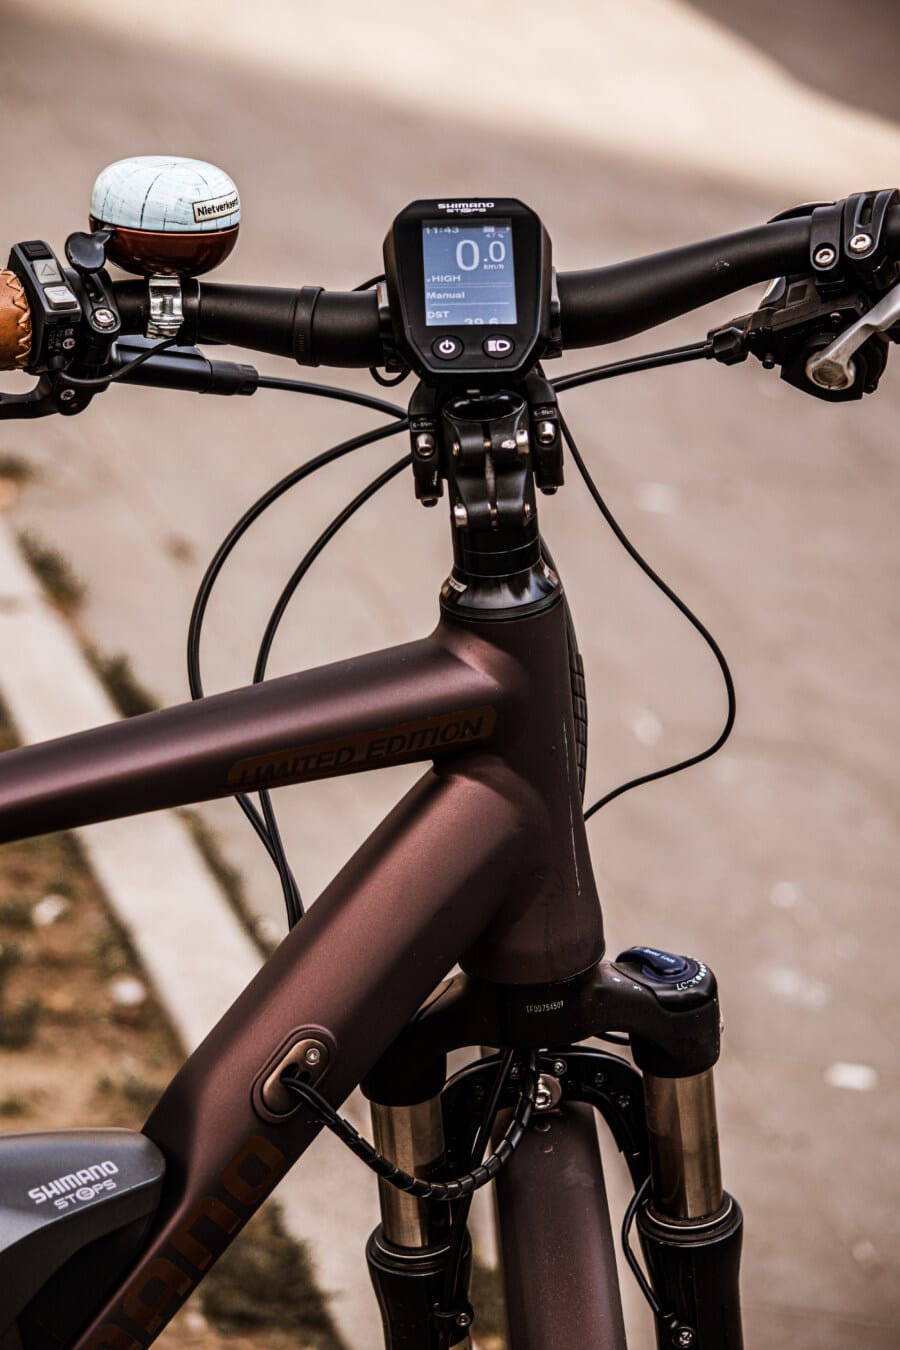
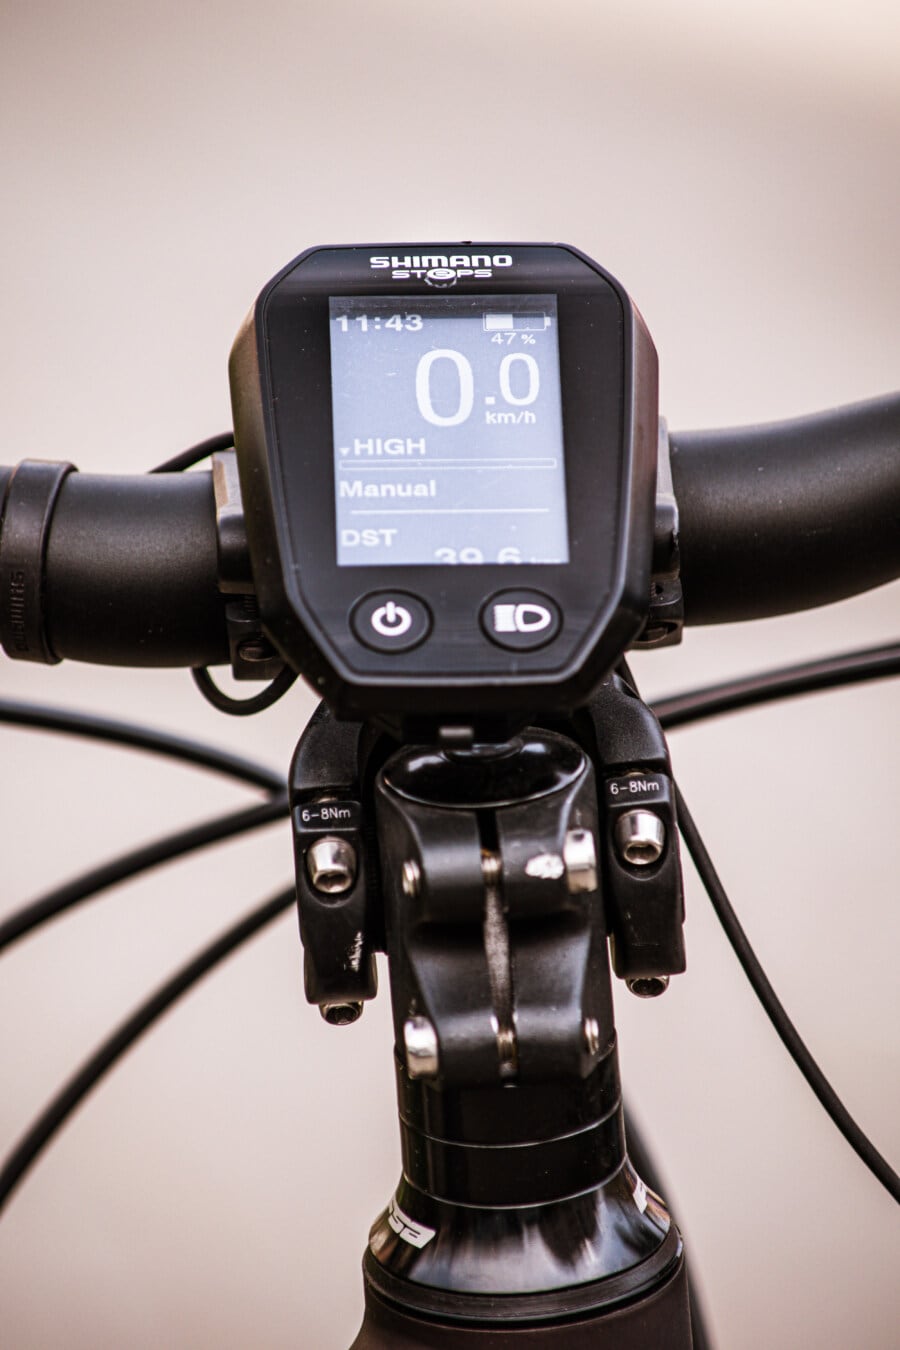
1. Mount the base and the monitor-screen

The assembly of the housing (i.e. the base) is carried out in the following way:
- Clean the handlebars with a sponge and soapy water: the area where the housing will be attached must be clean to fit properly.
- Dry carefully with a lint-free cloth.
- Unscrew the mounting system. Many manufacturers have opted for a clamp fastening system. With a self-tightening nut, this clamping system is perfect for limiting the loosening of the nut during vibration.
- Insert the clamp around the handlebar.
- Insert the screw and a washer (to increase the screw’s grip).
- Screw into a self-tapping nut.
- Tighten securely with a screwdriver and open-end wrench.
- Place the monitor on its base.
Good to know: some bases clip onto the handlebars, making installation even easier and allowing you to remove the speedometer from the bike easily.
2. Mount the transmitter
A transmitter is a small plastic box with a magnet inside.
This magnet must be attached to one of the front wheel’s spokes. The fixing is done by “clipping” or by screwing.
- Clean the bicycle spoke on which the transmitter will be positioned with alcohol (or any other degreaser).
- Place the transmitter on the spoke:
To determine the height, refer to the computer manufacturer’s instructions to not install the transmitter too high or too low on the wheel (which would distort the measurement).
- Press firmly on the transmitter to clip it to the spoke.
In the case of a screw mounting, fit the transmitter around the spoke and tighten it with a screwdriver.
Good to know: some transmitters can be mounted on two spokes. The mounting system is simple.
3. Mount the receiver

The receiver is an essential element. It will “receive” information converted into speed and transmit it to the speedometer box. Its positioning must be precise and stable over time. Always refer to the speedometer manufacturer’s instructions so that the receiver is not installed too high or low.
Here is the installation method:
- Unscrew the screws of the clamping brackets.
- Insert the receiver on one of the front wheel fork posts.
- Tighten the screws slightly. The tightening must allow an adjustment! Be careful not to overtighten.
- Turn the wheel so that the transmitter faces the receiver. If this is not the case, change the position of the receiver.
- Tighten the receiver mounting screws completely as soon as the transmitter and receiver face each other.
- Route the receiver cable to the housing on the handlebar. Run the cable along with the bike frame, securing it at regular intervals with tape or plastic cable ties.
Good to know: some bike computers are wireless and even faster to install!
For proper operation, don’t forget to specify the diameter of the bike’s wheels on the speedometer box! Refer to the manual of your computer.
All you have to do is test your bike computer by turning the front wheel in a vacuum:
If the speedometer lights up, the installation is successful.
If not, check the alignment of the transmitter with the receiver.
Materials you will need to install the meter
Sponge + Cloth
Soap
Phillips screwdriver
Flat wrench
Rubbing alcohol
Adhesive tape